


If you find yourself frequently building forms with similar fields, this tutorial will help you speed up that process. Today’s walkthrough will show you how to create and save sections on your form to reuse later, as well as how to use Smart Lists to quickly manage field options in a single location.
Formstack is so easy to use that anyone on your team can follow the tips below to build forms faster and update form lists seamlessly.
In this Power User Tutorial, we’ll look at how to:
- Add sections and fields to your form
- Save and reuse pre-built sections
- Upload data to your Smart Lists
- Apply Smart Lists to your form
This tutorial is great for:
- Building forms quickly
- Eliminating manual data entry
- Updating lists on existing forms

Did you know? You can find more tips and tricks to optimize your forms in our customer webinar series.
First, let’s look at saving a section to use later. To get started, create a new form and give it a title. Drag and drop a section onto your forms and add fields you frequently use. Here, we’re adding Name, Email, Phone, and Mailing Address. Next, select the section you want to save, choose Save Section, and give your section a name.
Now, you can see your saved section at the bottom of the left-hand navigation. To use your saved section, simply drag and drop it onto your form.
Next, let’s look at a second time-saving tactic: Formstack Smart Lists. Using Smart Lists is a great way to manage a list of field options in one central location. If you update the Smart List, the changes are reflected across your account, so you won’t need to worry about list duplication or making manual updates within each form.
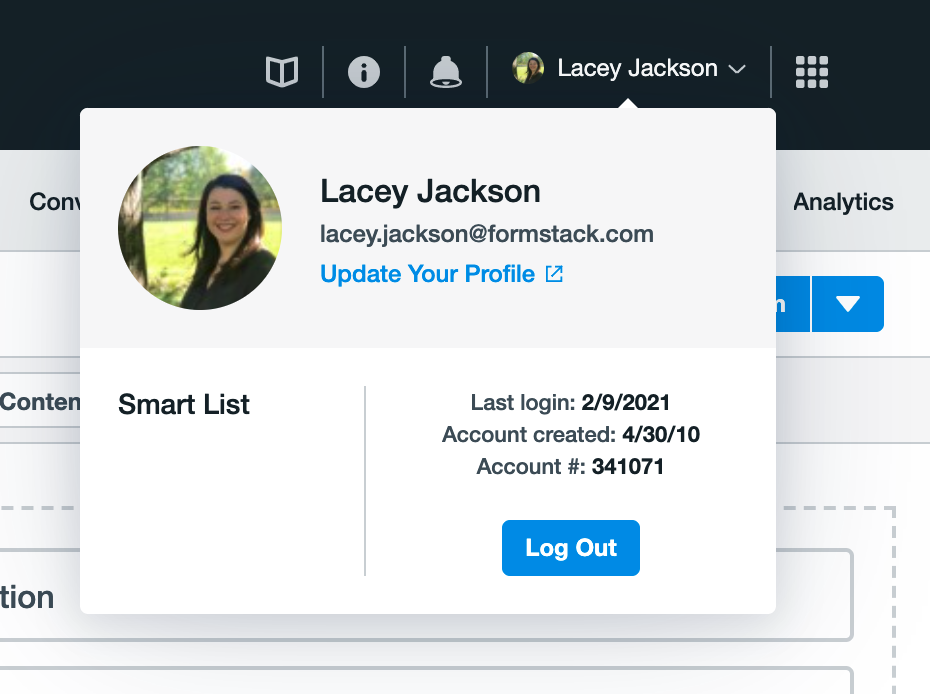
To get started, you’ll need to add information to your Smart List. Select your profile in the upper right-hand corner and choose Smart List. You have two options for adding information to your Smart List: manual data entry and bulk upload.
For this example, we’re going to bulk upload our information using data housed in a Microsoft Excel spreadsheet.
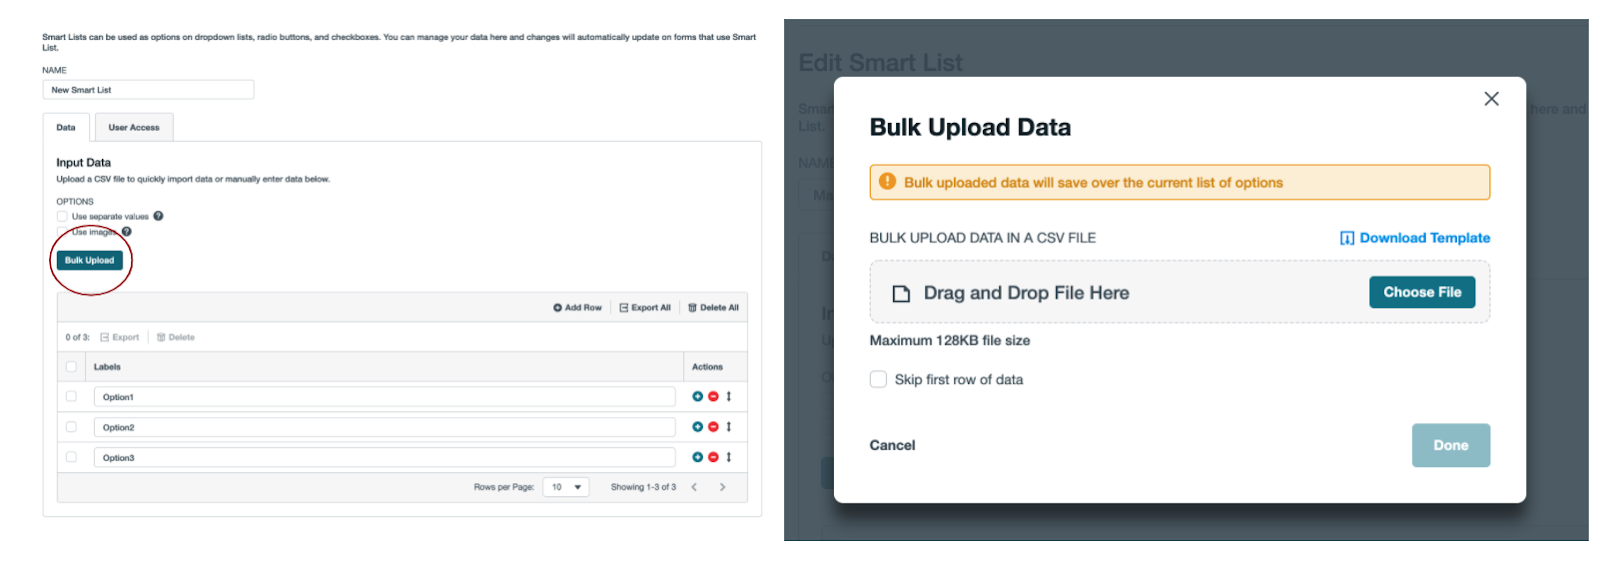
Once you’ve added your information, you can easily add, update, or delete information, and those changes will be reflected across all of the forms using that list. To apply a list to your form, add a Dropdown List, Radio Button, or Checkbox field to your form. Choose the Smart List you’d like to apply to your form and save.

Building a more complicated workflow? Check out our Formstack Builders Video series for a video tutorial of your use case.
Formstack was built to empower anyone in your office to turn ideas into workflows in minutes. Features like Saved Sections and Smart Lists make it easy to whip up forms in no time.
Ready to become a Formstack power user? Get Formstack Certified! Check out the article below to learn more about our program.

